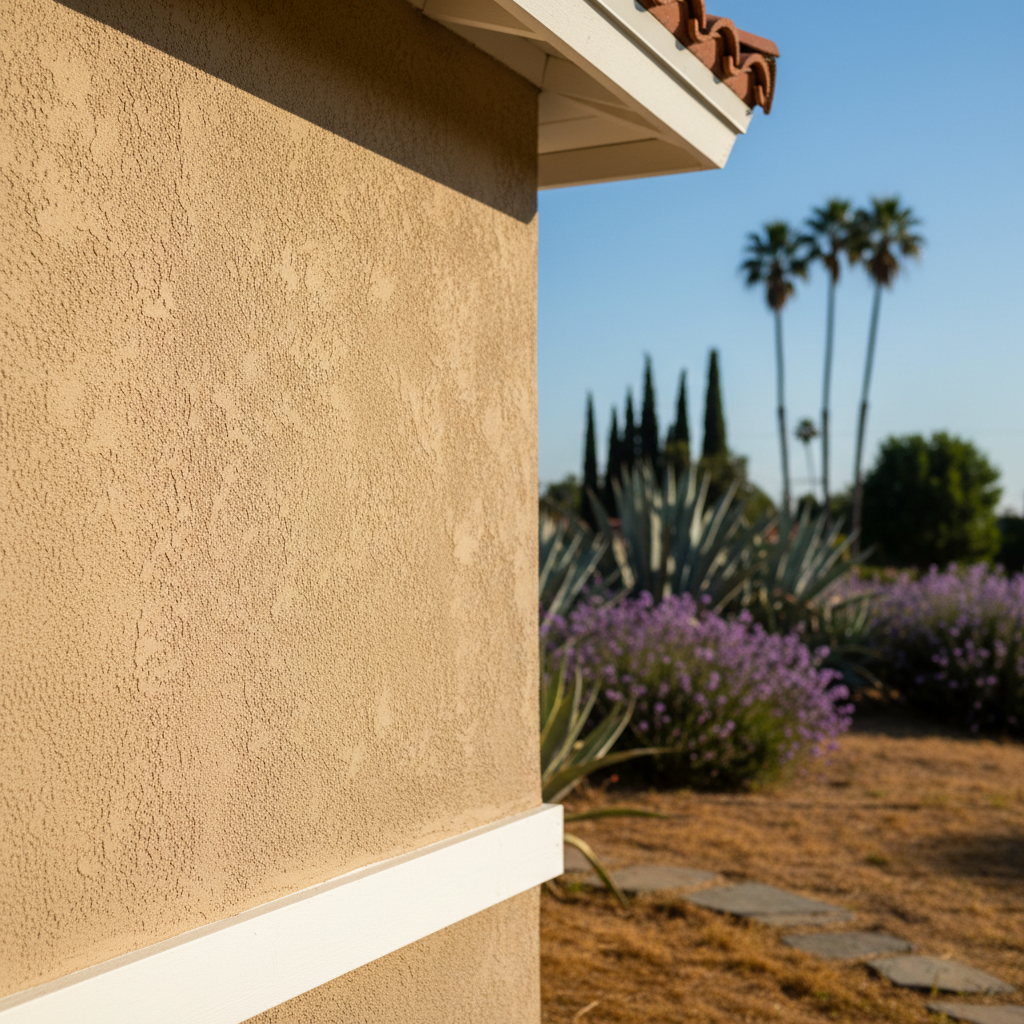
So, you're thinking about new stucco for your place here in Pasadena. Maybe you're adding on, or you're just plain tired of that old siding and want to upgrade to something classic and tough. It's a smart move for our climate, really; it insulates well and looks clean. But before you jump in, you're probably asking yourself: can I do this myself, or do I need to hire someone?
Let's be honest. Stucco isn't like painting a wall. It's a multi-layered system, and it has to be done right. Otherwise, you'll end up with cracks, moisture problems, and a whole lot of headaches down the road. I've seen plenty of well-meaning DIY jobs that ended up costing more to fix than if the folks had just hired a pro from the start. That said, you can definitely handle parts of the process, and understanding the whole thing will make you a smarter homeowner, even if you do hire us.
Before You Start: Planning & Prep
This is where you can really put in some work. First, figure out what you want to achieve. Are you aiming for a traditional three-coat system, or something like a one-coat? What kind of finish do you like – smooth, sand, dash, or maybe that classic Santa Barbara style? Knowing this helps you pick the right materials and tools.
Next up: permits. Don't skip this step. In Pasadena, most big exterior jobs usually need a permit. Check with the city's building department. They'll tell you what plans you need to submit and what inspections you'll need. Believe me, getting the permit upfront is way easier than dealing with fines and stop-work orders later.
You'll also need to check your wall's surface. Is it plywood, OSB, concrete block, or something else? This will tell you what kind of lath and paper to use. For instance, if you're going over wood, you'll need a good weather-resistive barrier (WRB) – usually two layers of Grade D building paper or a synthetic equivalent – and then metal lath. If you're just patching a small spot on an existing stucco wall, you might get away with a simpler method, but for a whole wall, you need that solid base.
This prep work – planning, getting permits, and understanding materials – is absolutely something you can do yourself. It'll save you money and give you a better grasp of the project.
During Installation: Where DIY Gets Tricky
Okay, here's the plain truth: applying stucco is a skill. It's not just throwing mud on a wall. It takes precision, good timing, and a real feel for the material. The layers need to go on correctly, at the right thickness, and cure properly. Here's what's involved:
- Weather Resistive Barrier (WRB) & Flashing: This is super important for keeping water out. You need proper overlap, especially around windows and doors, and good flashing. If water gets behind your stucco, particularly with our occasional heavy rains after a dry spell, you're looking at rot and mold. This is not the place to cut corners.
- Lath Installation: The metal lath (chicken wire or expanded metal) gives the stucco something to grab onto. It needs to be fastened securely, straight, and without buckles. Proper overlap and reinforcing corners are crucial.
- Scratch Coat: This is the first layer of cement-based material. We scratch it horizontally to give the next coat a mechanical grip. Getting the mix right – the sand-to-cement ratio, and the water content – is vital. Too dry, it won't stick. Too wet, it'll sag.
- Brown Coat: This second layer builds up the thickness and gives you a smooth, flat surface for the final coat. We screed and float it to get a consistent plane. Many DIYers struggle to get a truly flat wall here, and that will definitely show through the finish.
- Finish Coat: This is what everyone sees. It's the thinnest layer, but it's also the most visible. Applying it evenly, getting the texture you want, and making sure the color is consistent (if you're using integral color) takes practice.
For small repairs, like patching a little crack or a ding, you can absolutely try to tackle the finish coat yourself. Hardware stores sell pre-mixed patching compounds that work for minor touch-ups. But for an entire wall or a new build, getting a consistent, durable, and good-looking finish coat is really a job for someone who does it every single day. We've got the tools, the experience, and the crew to get it done efficiently and correctly.
Think about the old homes in the Bungalow Heaven neighborhood; their stucco has lasted for decades because it was done right the first time. That's the kind of longevity you want, isn't it?
After Installation: Curing & Maintenance
Once the stucco is on, your job isn't quite finished. Proper curing is vital, especially for those cement-based coats. This usually means keeping the stucco damp for several days after it's applied. You might need to mist it with water, particularly during our hot, dry Pasadena summers. This slows down the drying process, letting the cement hydrate fully and reach its maximum strength and hardness. Skip this step, and you could end up with weaker, more brittle stucco that cracks easily.
After it's fully cured, stucco is pretty low maintenance. You'll want to watch for cracks, especially around windows and doors, or where different materials meet. Small hairline cracks are often just cosmetic and you can fill them with an elastomeric sealant. Bigger cracks, or ones that are growing, could point to a larger problem, like foundation movement or water getting in, and you'd want to get those checked out.
Regular cleaning with a soft brush and water can keep your stucco looking fresh. Just avoid high-pressure washers, as they can damage the surface and push water behind the stucco. If you're seeing mildew or algae, especially on north-facing walls that get less sun, a mild bleach solution can usually take care of it.
So, while you can definitely handle the planning, permit gathering, and post-installation maintenance, the actual application of stucco – especially the scratch, brown, and finish coats on a large area – is best left to folks like us at Apex Stucco. We've got the specialized tools, the know-how, and the crew to make sure your stucco isn't just beautiful, but also a tough, long-lasting part of your home's exterior.