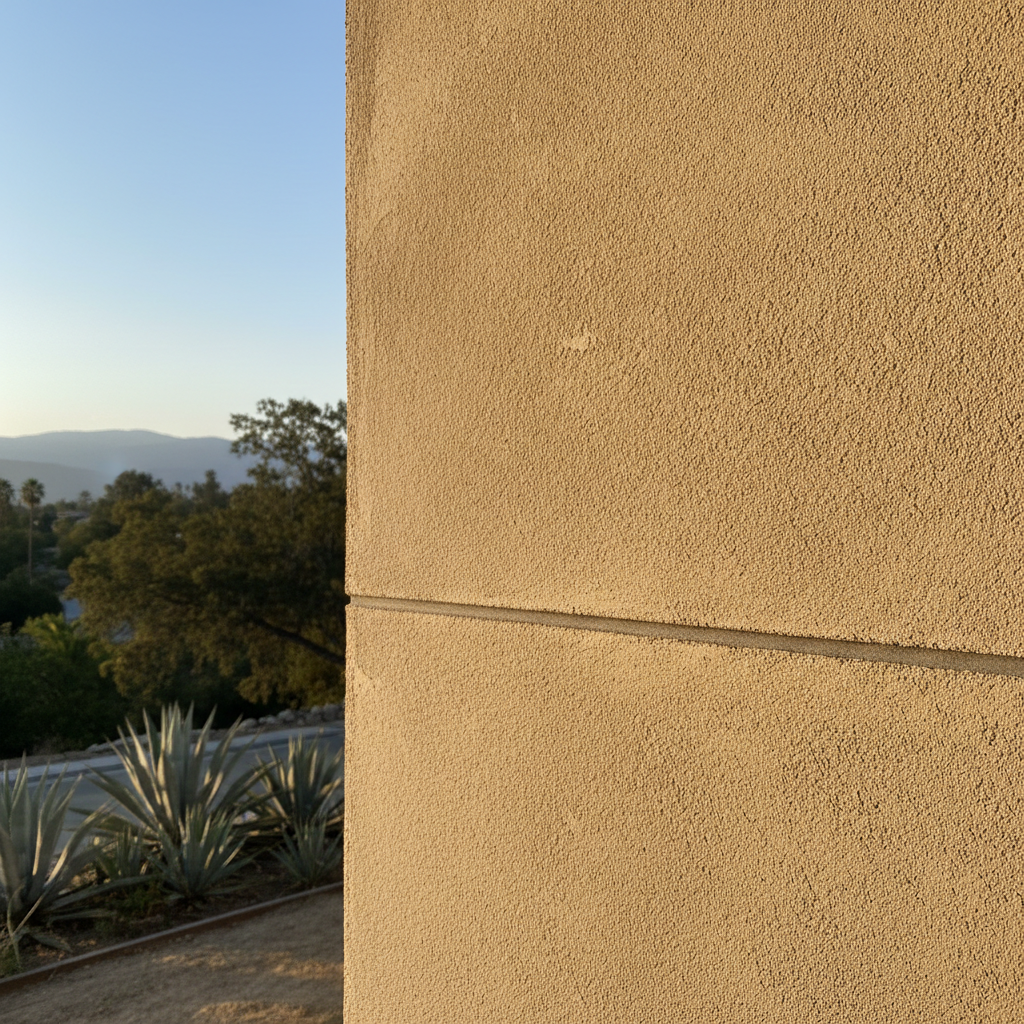
EIFS, or Exterior Insulation and Finish Systems, is a really solid choice for a lot of homes here in Pasadena. It’s more than just a pretty face; it’s insulation and a finish all rolled into one. That can be a huge help with energy bills, especially when you consider our hot summers and those surprisingly cool winters we get. But let’s be super clear: while some folks are pretty handy, EIFS isn't exactly a DIY weekend project. There are specific steps and techniques involved, and if you don't do them right, you're looking at big problems down the road. Believe me, I’ve seen my share of botched jobs that end up costing way more to fix than if the homeowner had just hired a pro from the get-go.
Before You Start: Planning and Permits
First things first, you can't just slap EIFS on your house. You've got to do a little homework. The biggest thing? Understanding your local building codes. In Pasadena, just like most cities, you'll need a permit for exterior renovations, especially for something as significant as EIFS. Don't even think about skipping this step. The city's planning department can be a real headache if you try to cut corners, and you could face fines – or even have to tear everything down. A good contractor, like us at Apex Stucco, will handle all the permit applications for you, making sure everything is totally up to snuff.
Next, take a good look at your existing walls. EIFS needs a sound, stable surface underneath. If you've got rot, water damage, or structural issues, you absolutely have to fix those first. You can't just cover up problems and expect them to vanish; they'll only get worse under the new finish. This is exactly where a professional inspection really pays off. We can spot issues you might miss and tell you what needs to happen before any EIFS goes up.
Finally, you get to pick your finish. EIFS comes in a ton of textures and colors. Do you want a smooth, modern look? Or maybe something with more texture that mimics traditional stucco? Think about how it’ll look with your roof, your landscaping, and even your neighbors’ homes. We can show you samples and help you really picture the final product.
The Installation Process: What to Expect
This is where the "don't DIY" advice really hits home. EIFS installation is a multi-layered system, and every single layer has to go on correctly for the whole thing to work. Here’s a simplified breakdown of the main steps:
- Sheathing and Moisture Barrier: After we remove any old siding and make repairs, the walls get a solid sheathing (usually plywood or OSB). Then, we apply a continuous moisture barrier. This is crucial for keeping water out. If this layer isn't installed perfectly, you're just asking for trouble.
- Insulation Board: Next comes the rigid insulation board, typically expanded polystyrene (EPS). We either fasten it mechanically or adhere it to the sheathing. This board is your main thermal break, and it's what makes EIFS so energy efficient, you know?
- Base Coat with Mesh: We apply a layer of cementitious base coat over the insulation, then embed a fiberglass mesh into it. This mesh provides impact resistance and helps prevent cracking. It needs to be smooth and consistent.
- Primer: Before the final finish, we often apply a primer. This helps with adhesion and makes sure the color is uniform.
- Finish Coat: Finally, the acrylic finish coat goes on. This is the part you actually see, and it’s where the texture and color come in. It’s flexible, durable, and resistant to fading.
Each of these layers demands specific tools, materials, and expertise. For instance, getting the base coat and mesh perfectly flat and consistent takes a lot of practice. And applying the final finish coat evenly across a large surface? That’s truly an art form. Trying to do this yourself without proper training usually leads to uneven textures, visible seams, and a finish that just doesn't look professional. Plus, the system needs careful detailing around windows, doors, and other openings to prevent water intrusion – this is where a lot of DIY EIFS projects really fall apart.
After Installation: Maintenance and Longevity
Once your EIFS is installed, you’ll want to keep it looking good and performing well. The good news is, EIFS is pretty low maintenance. You won't have to paint it every few years like wood siding, thank goodness. Generally, a good cleaning with a soft brush and mild detergent every year or two is all it takes to remove dirt and mildew. Just make sure you don't use a high-pressure washer too close, because that can actually damage the finish.
Regularly inspect your EIFS for any signs of damage, like cracks, impact dents, or areas where the finish might be peeling. If you spot anything, it's always best to address it quickly. Small repairs are much easier and cheaper than letting a problem grow. For example, if you live in an area like the hills above Altadena, where trees are everywhere, a falling branch could cause a ding. Don't ignore it. That little ding could become a pathway for water if you leave it unchecked.
While EIFS is durable, it’s not indestructible. If you notice any significant damage, or if you have concerns about water getting in, don't hesitate to call a professional. We can assess the situation, recommend repairs, and make sure your EIFS keeps protecting and insulating your home for decades to come. Think of it as an investment – a well-installed and maintained EIFS system can really boost your home’s curb appeal and energy efficiency.